Are you sourcing notebooks but constantly worry about inconsistent binding quality? Poor binding can lead to customer complaints, product returns, and a tarnished brand reputation. It’s a risk your business can’t afford. I’ve put together a straightforward checklist to help you evaluate binding quality like an expert, ensuring every order meets your high standards.
To evaluate book binding quality, focus on a few key areas. First, check the spine for smoothness and strength—it shouldn’t crackle or feel loose when opened. Inspect the cover attachment; it must be secure with no visible gaps or excess glue. Flip through the pages to ensure they lie flat and turn easily without resistance. Finally, examine the corners and edges for clean, precise cuts and overall durability. This quick assessment helps you identify high-quality, long-lasting products.
A quick check is a great starting point, but a true evaluation begins with understanding the different binding options available to you. Each method has unique strengths and weaknesses that directly impact the final product’s quality, functionality, and feel. A deep understanding of these differences is what separates a good product manager from a great one.
Let’s dive into the most common methods. This will help you see which one truly fits your specific product needs and customer expectations. Knowing these details is the first step toward building a product line that reflects the quality of your brand.
Which book binding is best for your product line?
Choosing the right binding method from so many options can feel overwhelming. The wrong choice can negatively affect the user experience, the product’s durability, and even your budget. A notebook with premium paper can feel cheap and frustrating to use if it has the wrong binding. Let’s break down the most popular types so you can confidently select the best fit.
The "best" book binding depends entirely on its intended use, budget, and desired aesthetic. For durability and a premium feel, case binding is superior. For lay-flat functionality in planners and notebooks, spiral or wire-o binding is ideal. Perfect binding offers a clean, professional look for reports and softcover books at a lower cost. Lastly, saddle stitching is the most economical choice for thin booklets and catalogs. Choosing correctly means matching the binding’s features to the product’s purpose.
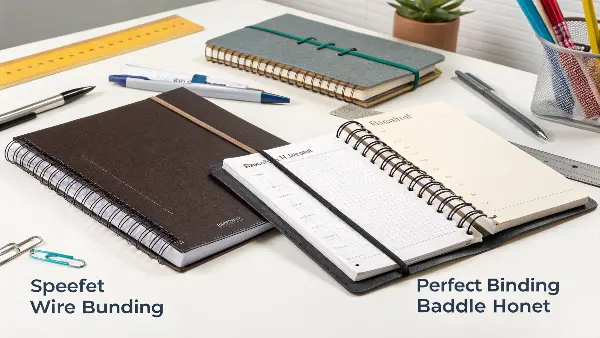
When I work with product managers like Michael in Germany, the conversation always starts with the end user. Who is this notebook for? What will they do with it? The answers determine the best binding. For a luxury corporate gift, the choice is almost always case binding because its perceived value is unmatched. But for a student’s daily planner, wire-o is often better because it can fold back on itself and lies perfectly flat for writing.
Comparing Common Binding Methods
To make it simple, I’ve created a table that outlines the pros and cons of the most common binding types we handle.
| Binding Type | Best For | Pros | Cons |
|---|---|---|---|
| Case Binding | Hardcover Journals, Premium Books | Highest perceived value, very durable. | Most expensive, doesn’t lay flat. |
| Perfect Binding | Softcover Books, Manuals | Clean, professional spine, cost-effective. | Not as durable, pages can fall out. |
| Spiral / Wire-O | Planners, Notebooks, Reports | Lays perfectly flat, pages turn 360°. | Less formal look, wires can bend. |
| Saddle Stitch | Booklets, Catalogs, Brochures | Very inexpensive, fast to produce. | Only for low page counts, not durable. |
Factors to Consider
Beyond the basic pros and cons, think about your brand identity. A brand focused on high-end, elegant stationery should lean towards case binding. A brand that promotes functionality and practicality might find more success with wire-o bound products. I once helped a client decide between perfect binding and case binding for a corporate gift set. They chose case binding for the added weight and superior feel, which justified a higher price point. It became their most successful gift item because the quality of the binding communicated a message of value.
What is the perfect book binding process really like?
You’ve probably heard the term "perfect binding" used for many softcover books, but do you know what goes into making it? Misunderstanding the process can lead to misaligned expectations about durability and the final finish. The truth is, not all "perfect" bindings are created equal, and the quality can vary greatly between suppliers. Here is a clear look at the key steps.
The perfect binding process starts by stacking printed pages into a block. The spine edge is then milled or roughened to increase the surface area for glue. A strong, flexible hot-melt adhesive is applied, and the cover is immediately wrapped around the page block and pressed firmly onto the glued spine. Finally, the book is trimmed on three sides to create clean, "perfect" edges. Quality depends heavily on the glue type and application technique.
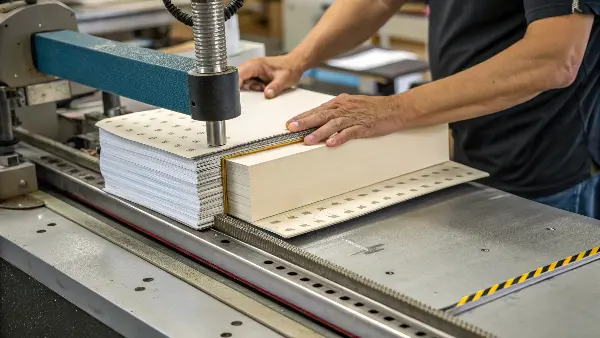
Understanding each stage of this process helps you ask the right questions when working with a supplier. I always emphasize to my team that precision at every step is non-negotiable. Small mistakes can lead to big problems, like pages falling out after just a few uses, which is a disaster for any brand.
Step-by-Step: The Perfect Binding Journey
- Printing and Collating: The pages and cover are printed and then gathered in the correct order to form the "book block."
- Spine Milling: This is a critical step. The spine of the book block is ground down, creating a rough surface. This allows the glue to penetrate the paper fibers for a much stronger hold. Some low-cost suppliers skip this or do it poorly, which is a major red flag.
- Glue Application: A hot-melt glue, usually EVA (Ethylene Vinyl Acetate) or the more durable PUR (Polyurethane Reactive), is applied to the roughened spine. The type and temperature of the glue are vital. PUR glue is more flexible and much stronger, making it a better choice for products that need to last.
- Cover Application: While the glue is still hot, the pre-scored cover is wrapped around the book block and held in place until the glue sets.
- Trimming: The final step is a three-knife trimmer that cuts the top, bottom, and face of the book to give it a clean, sharp finish.
Key Quality Indicators
When you receive a sample, test it. Open the book wide. Do you hear a crackling sound? That can mean the glue is brittle. Gently pull on a centre page. Does it feel loose? This indicates poor glue penetration. At Panoffices, we have strict quality controls for this. A while ago, we had to reject an entire batch from a potential new partner because the trimming was off by just 1mm. For a professional product line, that kind of imprecision is unacceptable.
How do you correctly measure boards for case binding?
Planning a new hardcover notebook line is exciting, but getting the technical specifications right is absolutely critical. Getting the board measurements wrong is a surprisingly common and costly mistake. An error here results in covers that don’t fit, have uneven overhang, or warp over time, ruining the premium feel you’re aiming for. Let’s go over the simple formula for measuring cover boards precisely.
To measure boards for case binding, first determine your text block size (the stacked pages). The board height should be the text block height plus about 6mm (0.25 inches) for overhang. The board width should be the text block width. You will also need to measure the spine piece width which is based on the text block’s thickness. These measurements create the classic hardcover look and protect the pages.
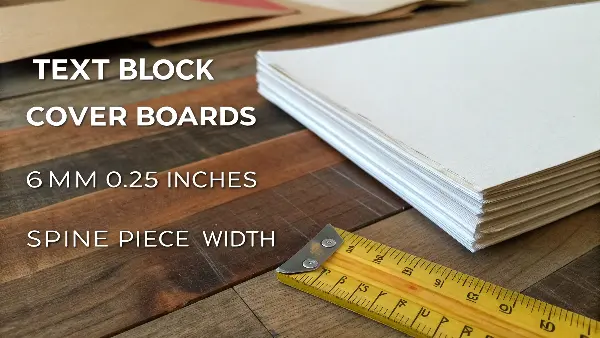
I know how important precision is for product developers like Michael. When we receive a specification for a new A5 journal, our production team follows these calculations exactly. There is no room for error, as even a millimeter of difference can compromise the entire production run. It’s this attention to detail that ensures the final product is flawless.
Calculating Board Dimensions
Here is a breakdown of the key terms and how to calculate them. The goal is to create a cover that is slightly larger than the page block inside.
- Text Block: This is the stack of all your interior pages, sewn or glued together. Let’s say its dimensions are 148mm wide x 210mm high (standard A5).
- Overhang (or "Square"): This is the part of the cover that extends beyond the edges of the text block. A standard overhang is 3mm on the top, bottom, and fore-edge.
- Hinge Area: This is the flexible joint that allows the cover to open smoothly. A space is needed between the spine piece and the front and back boards.
| Here are the formulas: | Component | Calculation | Example (for a 10mm thick A5 book) |
|---|---|---|---|
| Board Height | Text Block Height + 6mm (3mm top + 3mm bottom) | 210mm + 6mm = 216mm | |
| Board Width | Text Block Width | 148mm | |
| Spine Piece Width | Text Block Thickness | 10mm |
Why Precision Matters
These measurements ensure the book not only looks professional but also functions correctly. The overhang protects the page edges from damage. The hinge area prevents the cover from tearing at the spine when opened. I once saw a competitor’s product where the overhang was uneven—3mm on top but only 1mm on the bottom. It looked incredibly unprofessional and signaled poor quality control. That’s why we double-check every measurement and build prototypes before starting a full production run. It’s a crucial step in delivering a premium product.
Is adding custom-bound books to your product line profitable?
You are considering adding custom notebooks to your collection but are rightfully wondering about the return on investment. Investing in a new product line is a significant business decision. Without a clear understanding of the costs, potential margins, and market positioning, you could end up hurting your bottom line instead of helping it. Let’s look at the factors that make custom stationery a profitable venture.
Yes, bookbinding can be very profitable, especially in niche markets for high-quality, custom stationery. Profitability depends on several key factors: sourcing costs, choice of binding method, level of customization, order volume, and brand positioning. Premium bindings like case-bound or lay-flat allow for higher retail prices and better margins. By partnering with a reliable B2B supplier, you can control costs while offering unique, high-value products that customers are willing to pay more for.
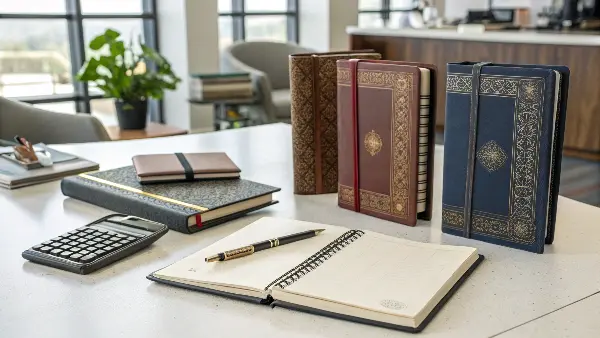
Profit isn’t just about sourcing for the lowest price. In the stationery world, true profitability comes from creating a product that customers connect with and perceive as high value. It’s a balance of cost, quality, and design. This is the conversation I have every day with my clients. We don’t just talk about price; we talk about creating value.
Key Drivers of Profitability
The final retail price of your product is influenced by a number of decisions you make during development. Here’s a simple breakdown of what drives cost versus what drives value.
| Cost Factors (What you pay) | Value Drivers (What customers pay for) |
|---|---|
| Paper weight and type | Unique and thoughtful design |
| Cover material (e.g., PU leather vs. paper) | Perceived quality and durability |
| Binding method (e.g., saddle stitch vs. case) | Brand story and positioning |
| Customization (foil stamping, debossing) | Superior functionality (e.g., lay-flat pages) |
| Order quantity (higher volume = lower unit cost) | Eco-friendly or sustainable materials |
Maximizing Your ROI
The key to profitability is to invest in the value drivers that your target customers care about most. For instance, a client once came to us wanting an extremely low-cost notebook. After discussing their brand, which was focused on creatives and designers, I advised them that by slightly increasing the budget to allow for a lay-flat binding and thicker paper, they could position it as a premium sketchbook. They listened, and it became their bestseller. They were able to set a much higher retail price because the product’s functionality delivered real value. It’s not about minimizing cost; it’s about maximizing value.
Conclusion
Evaluating book binding quality is a crucial skill for any wholesale buyer. By understanding the different binding types, knowing the key quality checkpoints, and appreciating the technical production details, you can make smarter sourcing decisions. This knowledge empowers you to build a profitable, high-quality stationery line that your customers will love and trust for years to come.

